반응형
Notice
Recent Posts
Recent Comments
Link
| 일 | 월 | 화 | 수 | 목 | 금 | 토 |
|---|---|---|---|---|---|---|
| 1 | 2 | 3 | 4 | 5 | 6 | 7 |
| 8 | 9 | 10 | 11 | 12 | 13 | 14 |
| 15 | 16 | 17 | 18 | 19 | 20 | 21 |
| 22 | 23 | 24 | 25 | 26 | 27 | 28 |
Tags
- node
- vsCode
- androidstudio
- ReactNative
- unittest
- Chrome
- 개발
- 오블완
- build
- MAC
- 티스토리챌린지
- localserver
- react
- TensorFlow
- MachineLearning
- 맥
- centos
- 센토스
- pydantic
- linux
- xcode
- Android
- webpack
- 네트워크
- 리눅스
- VirtualBox
- IOS
- fastapi
- PYTHON
Archives
- Today
- Total
로메오의 블로그
[Angular] ionic angular router 본문
반응형
$ ionic --version
5.4.13
$ cordova --version
9.0.0 (cordova-lib@9.0.1)
$ ng --version
     _                      _                 ____ _     ___
    / \   _ __   __ _ _   _| | __ _ _ __     / ___| |   |_ _|
   / △ \ | '_ \ / _` | | | | |/ _` | '__|   | |   | |    | |
  / ___ \| | | | (_| | |_| | | (_| | |      | |___| |___ | |
 /_/   \_\_| |_|\__, |\__,_|_|\__,_|_|       \____|_____|___|
                |___/

Angular CLI: 8.1.3
Node: 10.16.3
OS: darwin x64
Angular: 8.1.3

## 2020년 1월 현재
$ ionic --version
5.4.16
$ cordova --version
10.0.0
$ ng --version
_ _ ____ _ ___
/ \ _ __ __ _ _ _| | __ _ _ __ / ___| | |_ _|
/ △ \ | '_ \ / _` | | | | |/ _` | '__| | | | | | |
/ ___ \| | | | (_| | |_| | | (_| | | | |___| |___ | |
/_/ \_\_| |_|\__, |\__,_|_|\__,_|_| \____|_____|___|
|___/
Angular CLI: 10.0.8
Node: 10.16.3
OS: darwin x64
Angular: 10.0.14
## 2021년 1월 현재프로젝트 생성
$ ionic start ionic-tutorial sidemenu --type=angular
$ code ionic-tutorial
Page ts파일 생성하기
$ ionic g page welcome
router 변경

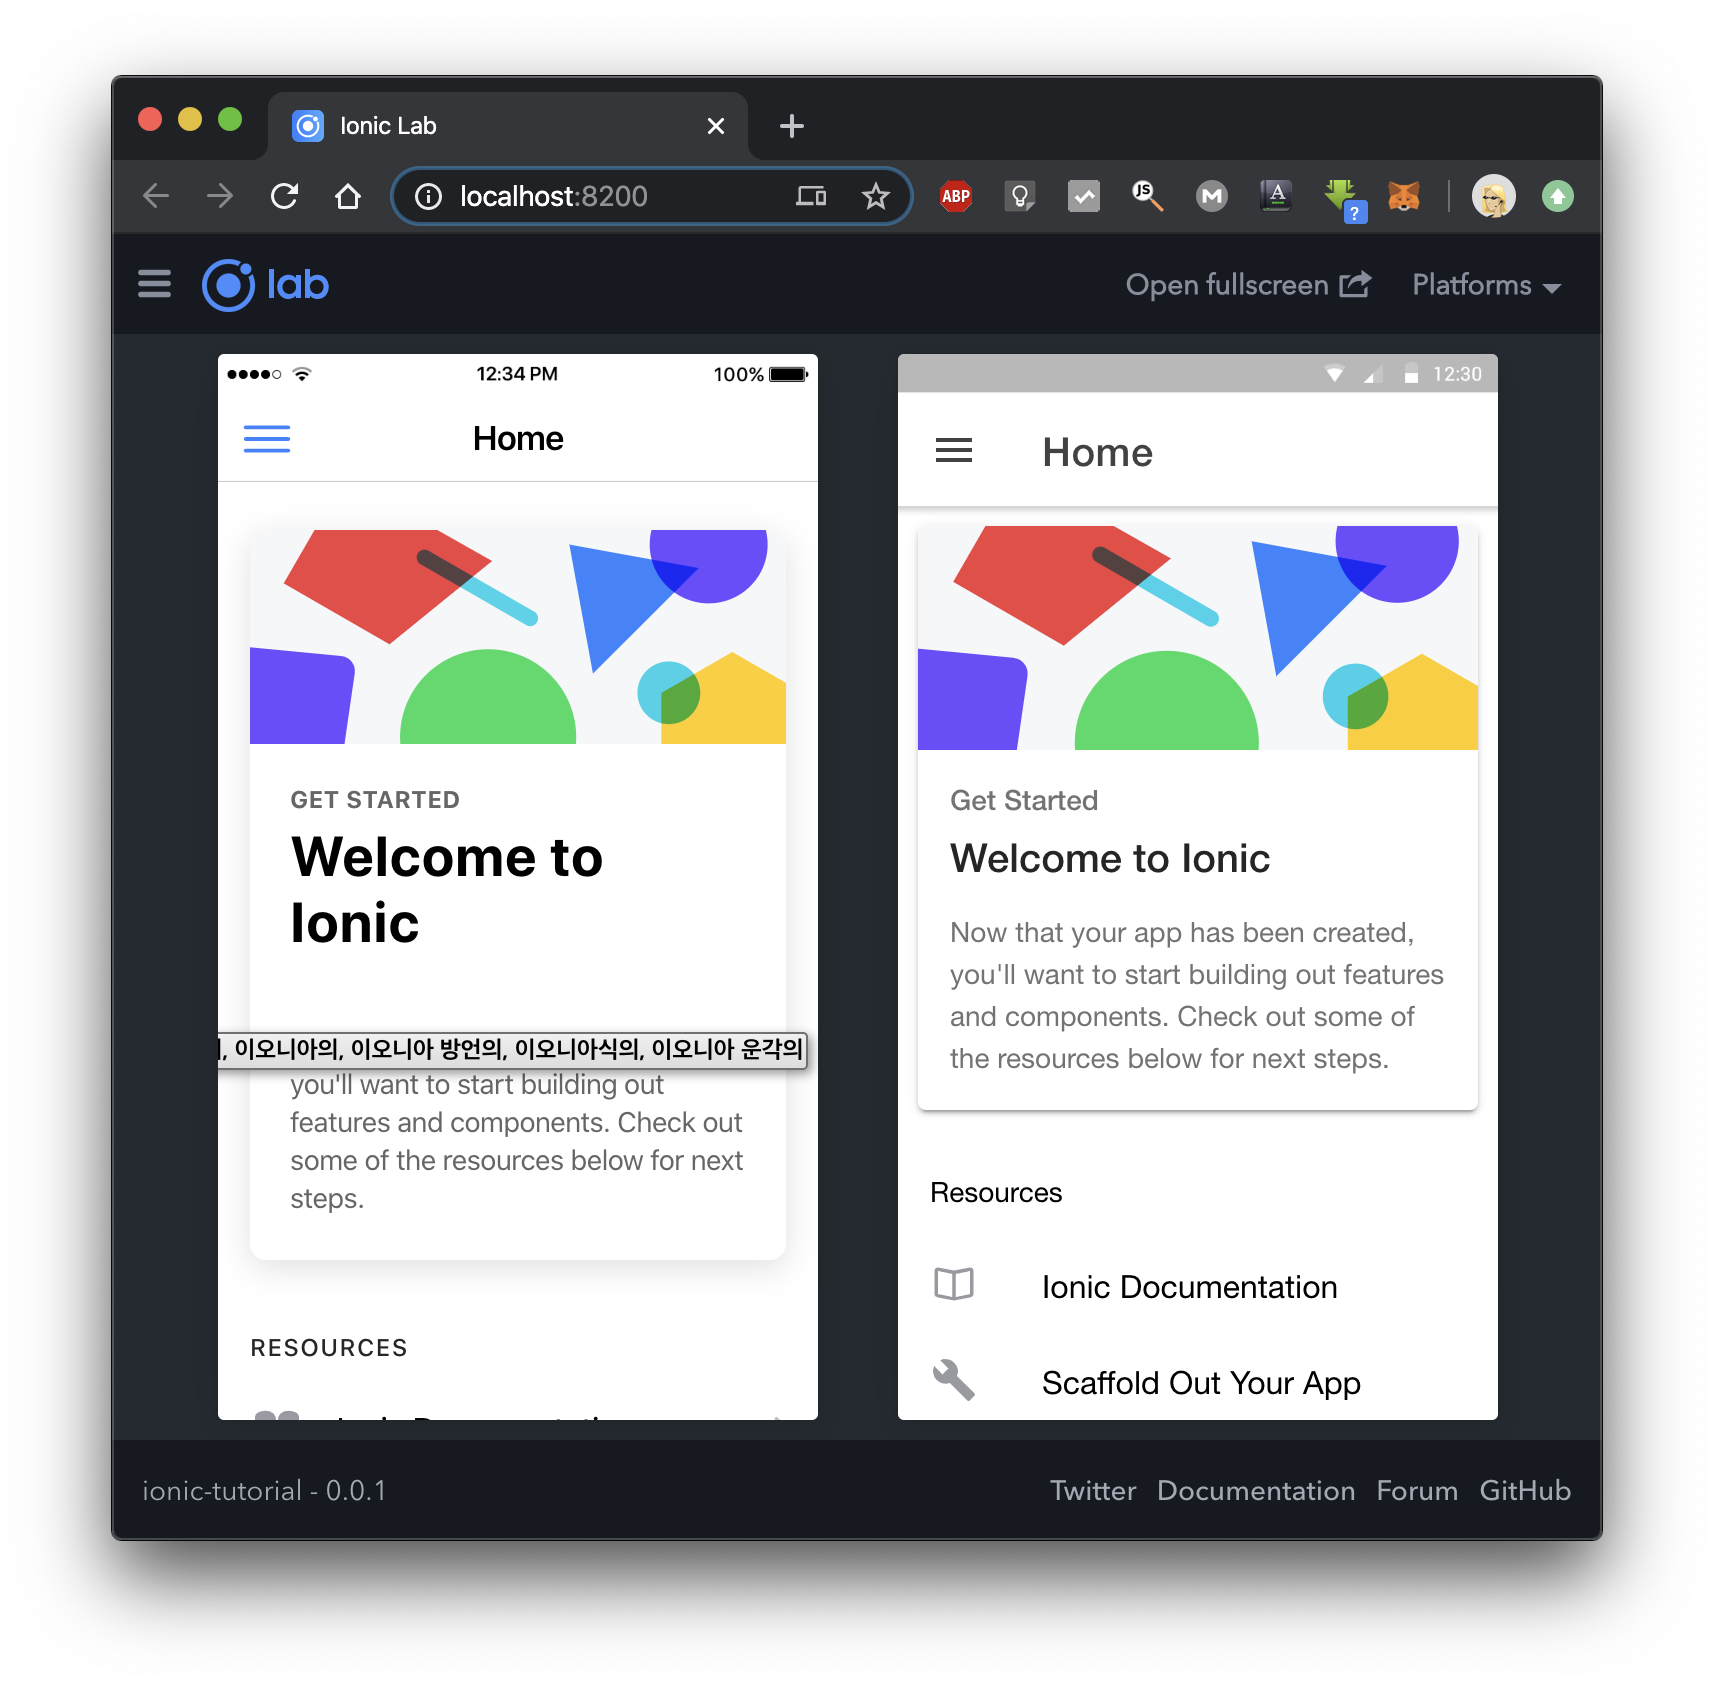
기본으로 위와 같이 home 화면이 초기화면으로 설정되어 있는데
방금 만든 welcome 화면으로 변경하겠습니다.
src/app/app.component.ts
import { Component } from '@angular/core';

import { Platform } from '@ionic/angular';
import { SplashScreen } from '@ionic-native/splash-screen/ngx';
import { StatusBar } from '@ionic-native/status-bar/ngx';
import { Router } from '@angular/router';

@Component({
  selector: 'app-root',
  templateUrl: 'app.component.html',
  styleUrls: ['app.component.scss']
})
export class AppComponent {
  public appPages = [
    {
      title: 'Home',
      url: '/home',
      icon: 'home'
    },
    {
      title: 'List',
      url: '/list',
      icon: 'list'
    }
  ];

  constructor(
    private platform: Platform,
    private splashScreen: SplashScreen,
    private statusBar: StatusBar,
    private router:Router
  ) {
    this.initializeApp();
  }

  initializeApp() {
    this.platform.ready().then(() => {
      this.statusBar.styleDefault();
      this.router.navigateByUrl('welcome')
      this.splashScreen.hide();
    });
  }
}

위코드로 수정하면 welcome 화면으로 변경됩니다.
5초뒤에 home 화면으로 넘어가도록 수정합니다.
router 페이지 이동
src/app/welcome/welcome.page.ts
import { Component, OnInit } from '@angular/core';
import { Router } from '@angular/router';

@Component({
  selector: 'app-welcome',
  templateUrl: './welcome.page.html',
  styleUrls: ['./welcome.page.scss'],
})
export class WelcomePage implements OnInit {

  constructor(
    private router:Router
  ) { }

  ngOnInit() {
    setTimeout(() => {
      this.router.navigateByUrl('home')
    }, 5000)
  }

}

5초뒤에 home 화면으로 이동합니다.
반응형
'Frontend > angular' 카테고리의 다른 글
| [Angular] sidemenu 추가 (0) | 2020.01.13 |
|---|---|
| [Angular] Login page 화면 제작 (0) | 2020.01.13 |
| [Angular] Rest API Service 구현하기 (2) | 2020.01.12 |
| [Angular] angular-cli / material 설치 / page module 추가 (0) | 2020.01.10 |
| [Ionic] iOS 생성 / 빌드 / 실행하기 (0) | 2020.01.10 |
Comments


