
반응형
Notice
Recent Posts
Recent Comments
Link
| 일 | 월 | 화 | 수 | 목 | 금 | 토 |
|---|---|---|---|---|---|---|
| 1 | ||||||
| 2 | 3 | 4 | 5 | 6 | 7 | 8 |
| 9 | 10 | 11 | 12 | 13 | 14 | 15 |
| 16 | 17 | 18 | 19 | 20 | 21 | 22 |
| 23 | 24 | 25 | 26 | 27 | 28 | 29 |
| 30 | 31 |
Tags
- 네트워크
- centos
- xcode
- 리눅스
- build
- 오블완
- androidstudio
- 센토스
- pydantic
- 티스토리챌린지
- localserver
- fastapi
- 맥
- IOS
- node
- MAC
- MachineLearning
- 개발
- react
- linux
- Android
- ReactNative
- TensorFlow
- VirtualBox
- PYTHON
- vsCode
- Chrome
- unittest
- webpack
Archives
- Today
- Total
로메오의 블로그
[Angular] Login page 화면 제작 본문
반응형
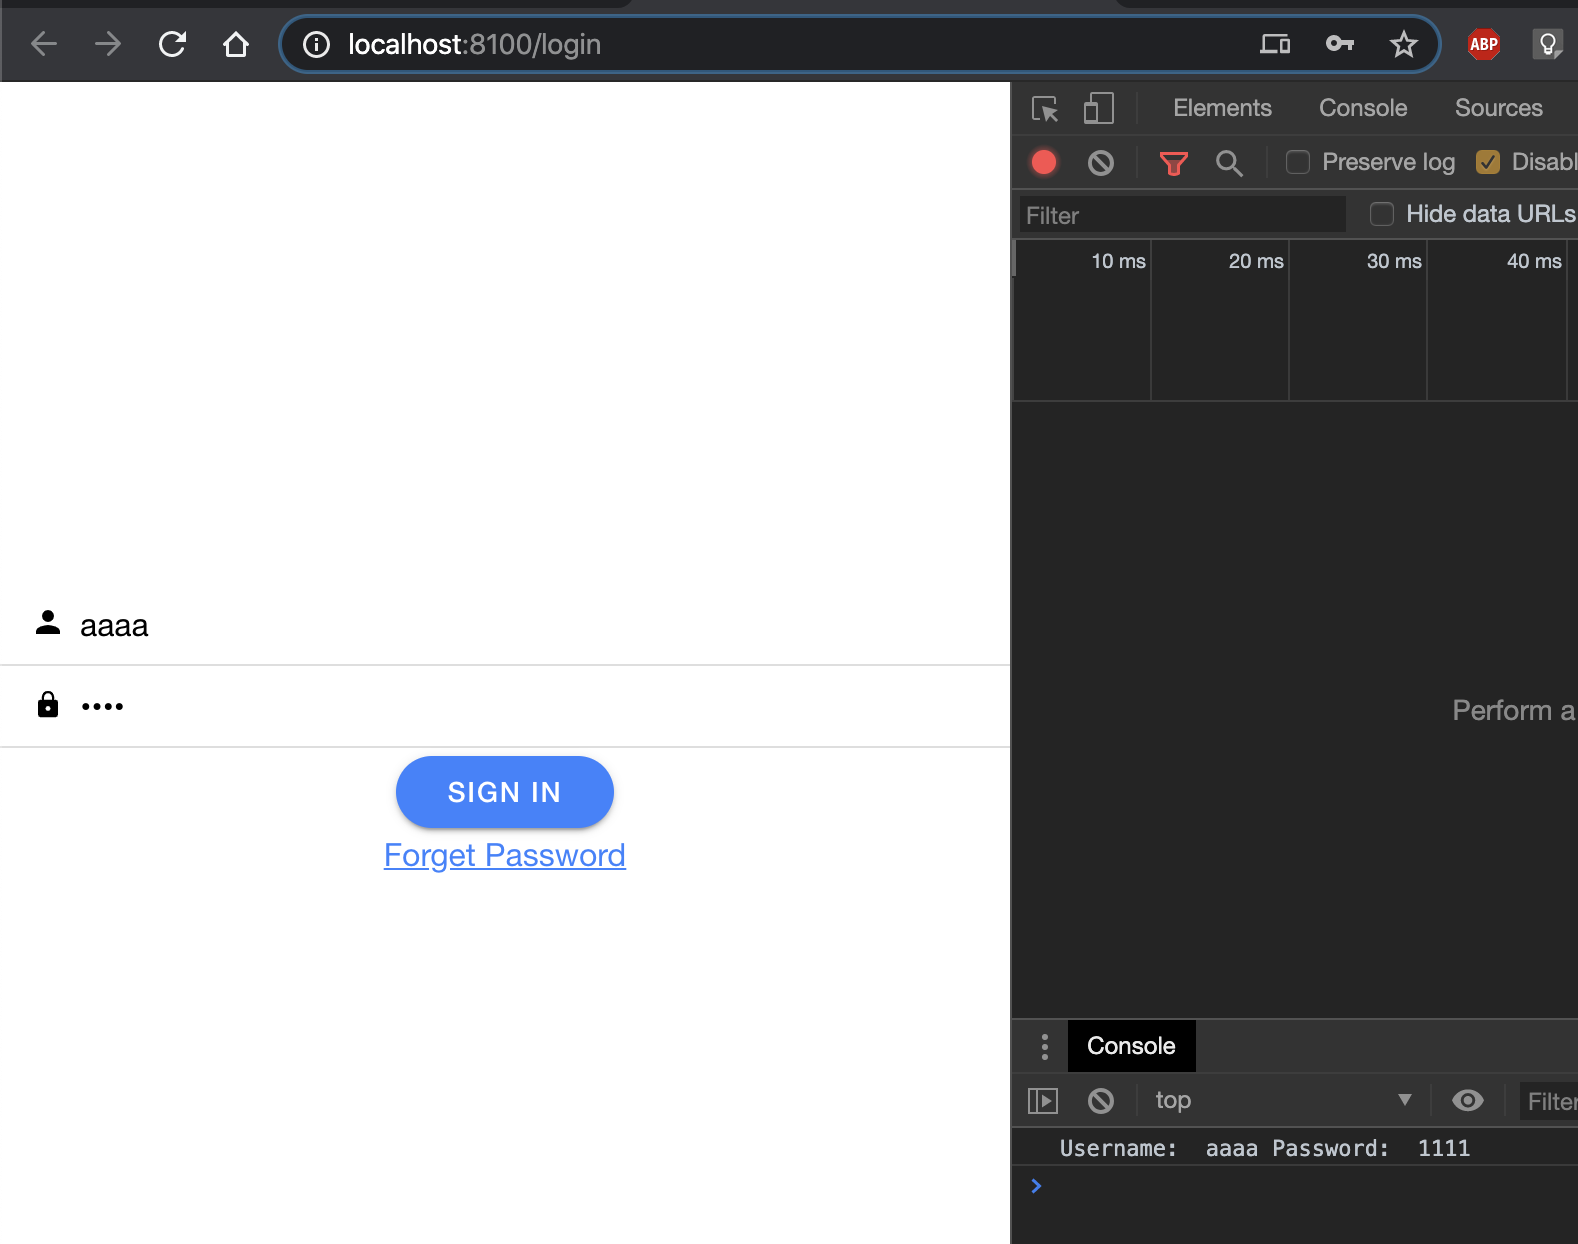
login 페이지를 만듭니다.
$ ionic g page auth/loginsrc/app/welcome/welcome.page.ts
  ....
  ngOnInit() {
    setTimeout(() => {
      this.router.navigateByUrl('login')
    }, 5000)
  }
  ....
}
this.router.navigateByUrl('home')
this.router.navigateByUrl('login')
위와같이 welcome 페이지에서 login 페이지로 이동하도록 수정합니다.
src/app/auth/login/login.page.html
<ion-content>

  <ion-list>
    <ion-item>
      <ion-label><ion-icon name="person"></ion-icon></ion-label>
      <ion-input placeholder="Username" [(ngModel)]="user" type="text"></ion-input>
    </ion-item>
    <ion-item>
      <ion-label><ion-icon name="lock"></ion-icon></ion-label>
      <ion-input placeholder="Password" [(ngModel)]="pass" type="Password"></ion-input>
    </ion-item>
    <div class="btn-center-align">
      <ion-button color="primary" shape="round" (click)="signIn()">Sign In</ion-button> <br>
      <a routerLink="/forget">Forget Password</a>
    </div>
  </ion-list>

</ion-content>
src/app/auth/login/login.page.scss
ion-content {

}
ion-content > ion-list {
    position: relative;
    top:30%;
}
.btn-center-align {
    text-align: center !important;
}
.btn-center-align ion-button {
    --color: white
}
ion-item {
    --background: white;
    color: blue($color: #000000);
    --min-height: 40%;
}
ion-list {
    background-color: white;
}
:host {
    --min-height: 39px
}
src/app/auth/login/login.page.ts
import { Component, OnInit } from '@angular/core';

@Component({
  selector: 'app-login',
  templateUrl: './login.page.html',
  styleUrls: ['./login.page.scss'],
})
export class LoginPage implements OnInit {

  user:String;
  pass:String;

  constructor() { }

  ngOnInit() {
  }

  signIn() {
    console.log('Username: ', this.user, 'Password: ', this.pass)
  }

}
반응형
'Frontend > angular' 카테고리의 다른 글
| [IONIC] android / ios build and run (0) | 2020.01.13 |
|---|---|
| [Angular] sidemenu 추가 (0) | 2020.01.13 |
| [Angular] ionic angular router (0) | 2020.01.13 |
| [Angular] Rest API Service 구현하기 (2) | 2020.01.12 |
| [Angular] angular-cli / material 설치 / page module 추가 (0) | 2020.01.10 |
'Frontend/angular' Related Articles
more


Comments