반응형
Notice
Recent Posts
Recent Comments
Link
| 일 | 월 | 화 | 수 | 목 | 금 | 토 |
|---|---|---|---|---|---|---|
| 1 | 2 | 3 | 4 | 5 | 6 | |
| 7 | 8 | 9 | 10 | 11 | 12 | 13 |
| 14 | 15 | 16 | 17 | 18 | 19 | 20 |
| 21 | 22 | 23 | 24 | 25 | 26 | 27 |
| 28 | 29 | 30 | 31 |
Tags
- IOS
- vsCode
- unittest
- pydantic
- MAC
- localserver
- PYTHON
- centos
- VirtualBox
- 개발
- webpack
- react
- build
- ReactNative
- 리눅스
- 맥
- MachineLearning
- 오블완
- 네트워크
- xcode
- Chrome
- androidstudio
- node
- 티스토리챌린지
- 센토스
- fastapi
- Android
- TensorFlow
- linux
Archives
- Today
- Total
로메오의 블로그
[Chrome] IndexedDB 사용하기 본문
반응형
VSCode에서 index.html 파일을 생성해서 아래와 같이 코딩합니다.
<!DOCTYPE html>
<html lang="en">
<head>
    <meta charset="UTF-8">
    <meta name="viewport" content="width=device-width, initial-scale=1.0">
    <meta http-equiv="X-UA-Compatible" content="ie=edge">
    <title>IndexedDB</title>

    <script src="https://cdnjs.cloudflare.com/ajax/libs/jquery/3.4.1/jquery.min.js"></script>
</head>
<body>

    companyName: <input type="text" id="companyName"><br>
    production: <input type="text" id="production"><br>
    <button id="submit">입력</button>

    <ul id="lists"></ul>

<script>

</script>
</body>
</html>
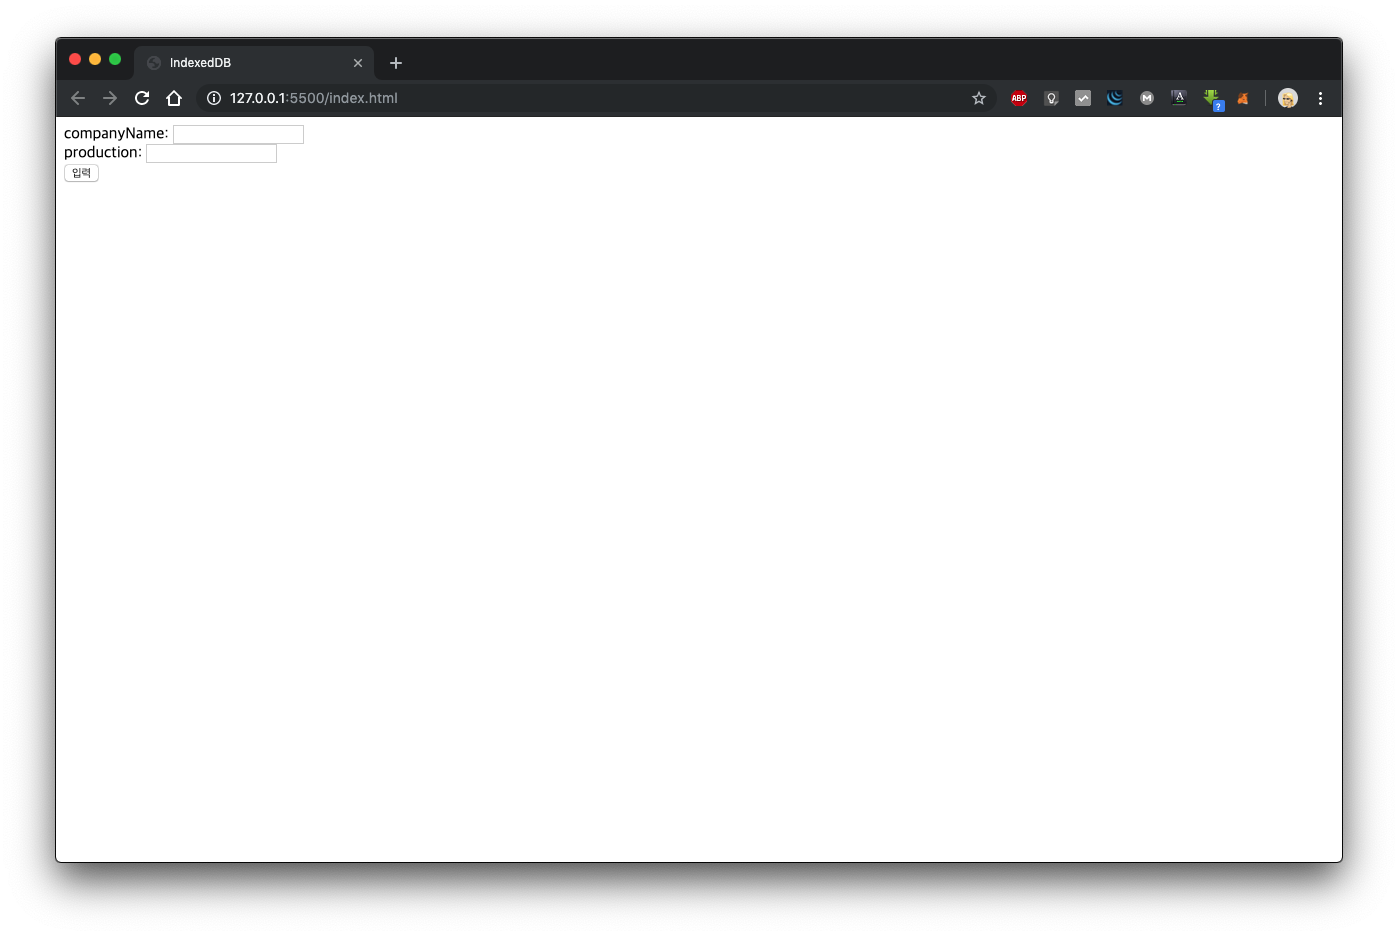
Live Server를 실행합니다.

아름다운 화면이 떴습니다.
DB 생성하기

크롬 inspector를 실행하고 Application > IndexedDB를 선택합니다.
아직은 DB가 없습니다.
<script>
    const DATABASE = 'MyDatabase';
    const DB_VERSION = 1;
    const DB_STORE_NAME = 'company';

    var db;

    openDB = () => {
        // DB 생성
        var req = indexedDB.open(DATABASE, DB_VERSION);

        // DB 생성 성공
        req.onsuccess = function (evt) {
            db = this.result;
        };
        // DB 생성 오류
        req.onerror = function (evt) {
            console.error("indexedDB : ", evt.target.errorCode);
        };
        // DB 마그레이션
        req.onupgradeneeded = function (evt) {
            console.log("indexedDB.onupgradeneeded");
            var store = evt.currentTarget.result.createObjectStore(DB_STORE_NAME,
                { keyPath: 'id', autoIncrement: true });

            store.createIndex('biblioid', 'biblioid', { unique: true });
            store.createIndex('title', 'title', { unique: false });
            store.createIndex('year', 'year', { unique: false });
        };
    }

    openDB()
</script>
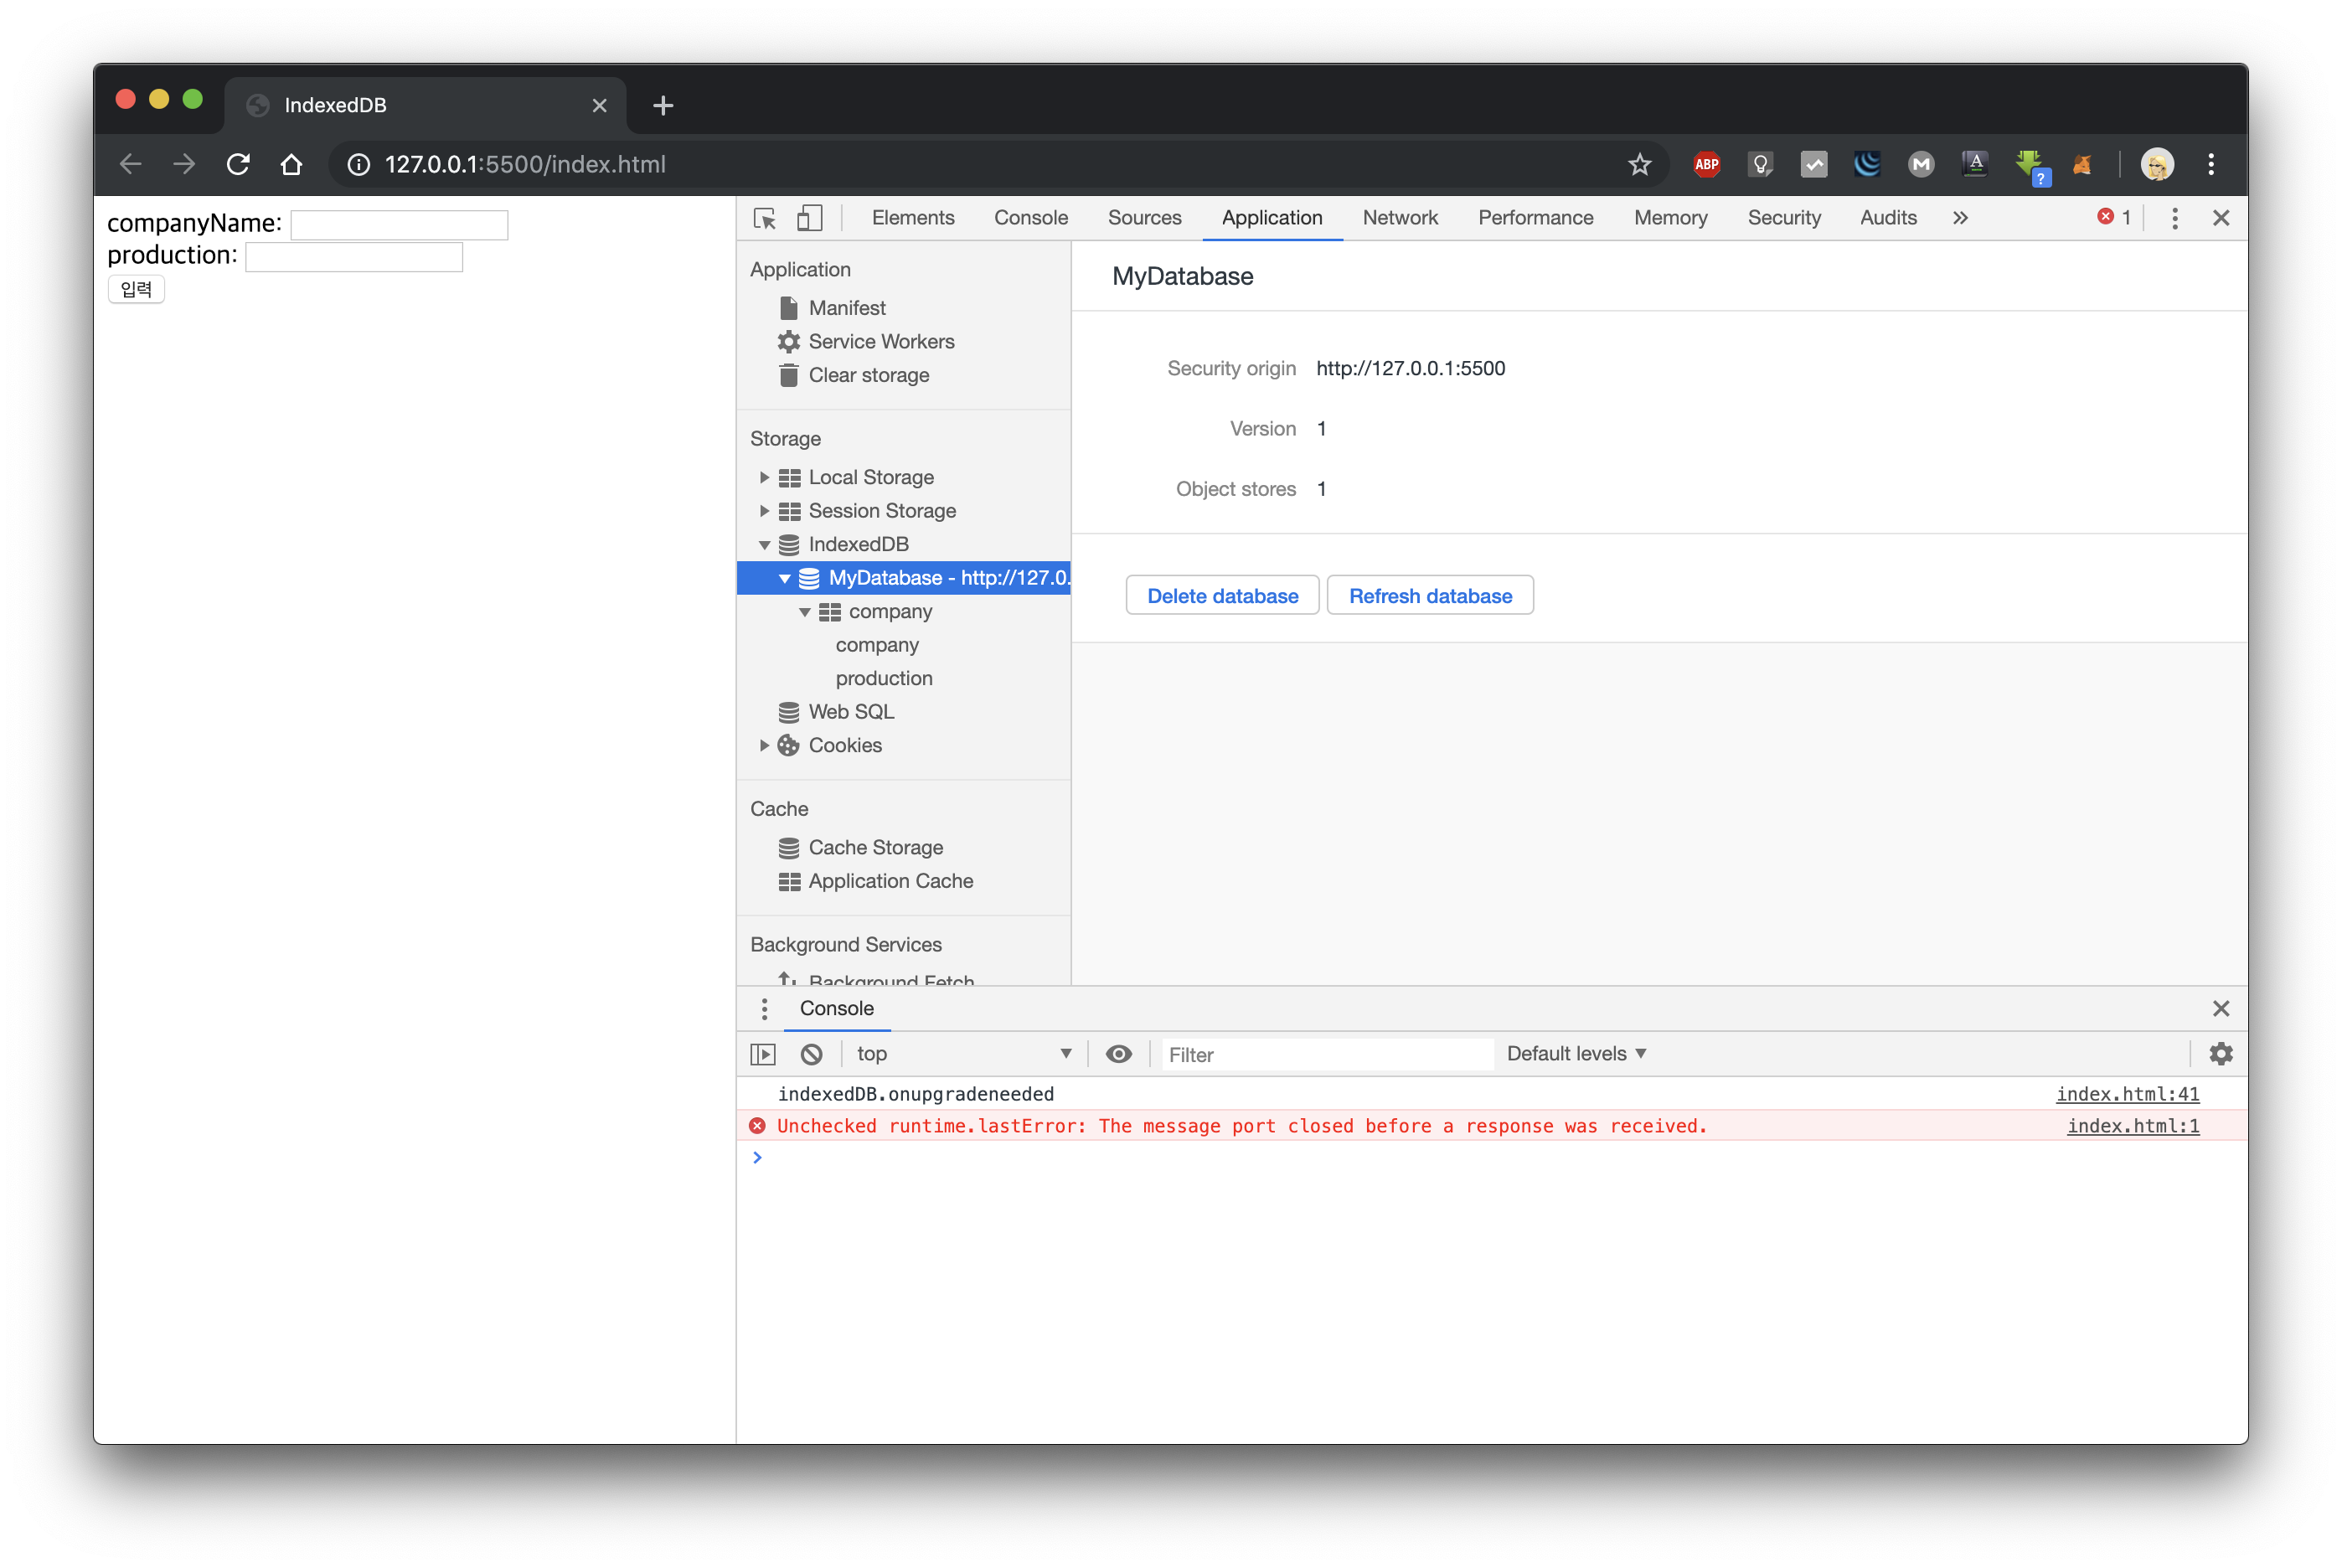
script 영역에 DB생성 코딩을 작성하고 저장하면 live server가 자동으로 새로고침 됩니다.

MyDatabase와 company라는 store가 생성되었습니다.
store는 mongoDB의 collections와 비슷한 개념입니다.
store.add
// Store를 반환한다.
getObjectStore = (store_name, mode) => {
    return db.transaction(store_name, mode).objectStore(store_name);
}

// 데이터 입력하기
$('#submit').on('click', () => {
    const companyName = $('#companyName').val()
    const production = $('#production').val()
    if (!companyName) {
        return alert('company name은 필수입니다.')
    }
    if (!production) {
        return alert('production은 필수입니다.')
    }

    // 입력한 데이터를 추가한다.
    let store = getObjectStore(DB_STORE_NAME, 'readwrite');
    let req
    const obj = {
        company: companyName,
        production: production
    };

    try {
        req = store.add(obj);
    } catch (e) { }

    req.onsuccess = function (evt) {
        console.log("입력 되었습니다.");
    };
    req.onerror = function () {
        console.error(this.error);
    };
})
데이터 입력 코드를 추가합니다.

companyName과 production을 넣고 입력버튼을 누릅니다.
store.get
<script>
	.....
    openDB = () => {
        .....
        // DB 생성 성공
        req.onsuccess = function (evt) {
            .....
            getAllData();
        };
        .....
    }

    openDB()

    .....

    // 모든 데이터를 가지고 온다.
    getAllData = () => {
        // get
        store = getObjectStore(DB_STORE_NAME, 'readonly');
        let req = store.openCursor();
        req.onsuccess = function (evt) {
            const cursor = evt.target.result;
            if (cursor) {
                req = store.get(cursor.key);
                req.onsuccess = function (evt) {
                    const value = evt.target.result;
                    console.log(value)
                }
                cursor.continue();
            }
        }
    }
</script>
getAllData 함수를 추가하고 저장합니다.

데이터를 추가하고 새로고침합니다.
<script>
	.....
    // 모든 데이터를 가지고 온다.
    getAllData = () => {
        // get
        store = getObjectStore(DB_STORE_NAME, 'readonly');
        let req = store.openCursor();
        let strBuffer = []
        req.onsuccess = function (evt) {
            const cursor = evt.target.result;
            if (cursor) {
                req = store.get(cursor.key);
                req.onsuccess = evt => {
                    const value = evt.target.result;
                    strBuffer.push('<li>')
                    strBuffer.push(value.company + ' (' + value.production + ')')
                    strBuffer.push(' [<a href="#" data-delete="' + value.id + '">삭제</a>]')
                    strBuffer.push('</li>')
                    console.log(value)
                }
                cursor.continue();
            }
            $('#lists').html(strBuffer.join(''))
        }
    }
</script>
html DOM 파싱 코드를 추가하고 저장합니다.

store.delete
삭제 코드를 추가합니다.
// 모든 데이터를 가지고 온다.
getAllData = () => {
    .....
    req.onsuccess = evt => {
        ....
        $('#lists').html(strBuffer.join(''))

        // 데이터를 삭제한다.
        $('[data-delete]').on('click', evt => {
            const id = $(evt.currentTarget).attr('data-delete')
            store = getObjectStore(DB_STORE_NAME, 'readwrite');
            store.delete(id)
                .onsuccess = function (event) {
                    console.log('deleted')
                }
        })
    }
}
첫번째 데이터를 삭제합니다.
store.clear
<body>
    ....
    <button id="submit">입력</button>
    <button id="clearAll">모두삭제</button>
	....

<script>
....

// 데이터를 모두 삭제한다.
$('#clearAll').on('click', () => {
    // clear
    var store = getObjectStore(DB_STORE_NAME, 'readwrite');
    var req = store.clear();
    req.onsuccess = function (evt) {
        console.log('clear')
    };
    req.onerror = function (evt) {
        console.log('error')
    };
})
</script>
모두삭제를 눌러서 새로고침 하면 데이터가 모두 삭제됩니다.
아래는 전체 코드입니다.
<!DOCTYPE html>
<html lang="en">
<head>
    <meta charset="UTF-8">
    <meta name="viewport" content="width=device-width, initial-scale=1.0">
    <meta http-equiv="X-UA-Compatible" content="ie=edge">
    <title>IndexedDB</title>

    <script src="https://cdnjs.cloudflare.com/ajax/libs/jquery/3.4.1/jquery.min.js"></script>
</head>

<body>

    companyName: <input type="text" id="companyName"><br>
    production: <input type="text" id="production"><br>
    <button id="submit">입력</button>
    <button id="clearAll">모두삭제</button>

    <ul id="lists"></ul>

<script>
const DATABASE = 'MyDatabase';
const DB_VERSION = 1;
const DB_STORE_NAME = 'company';

var db;

openDB = () => {
    // DB 생성
    var req = indexedDB.open(DATABASE, DB_VERSION);

    // DB 생성 성공
    req.onsuccess = function (evt) {
        db = this.result;
        getAllData();
    };
    // DB 생성 오류
    req.onerror = function (evt) {
        console.error("indexedDB : ", evt.target.errorCode);
    };
    // DB 마그레이션
    req.onupgradeneeded = function (evt) {
        console.log("indexedDB.onupgradeneeded");
        var store = evt.currentTarget.result.createObjectStore(DB_STORE_NAME,
            { keyPath: 'id', autoIncrement: true });

        store.createIndex('company', 'company', { unique: true });
        store.createIndex('production', 'production', { unique: false });
    };
}

openDB()

// Store를 반환한다.
getObjectStore = (store_name, mode) => {
    return db.transaction(store_name, mode).objectStore(store_name);
}

// 데이터 입력하기
$('#submit').on('click', () => {
    const companyName = $('#companyName').val()
    const production = $('#production').val()
    if (!companyName) {
        return alert('company name은 필수입니다.')
    }
    if (!production) {
        return alert('production은 필수입니다.')
    }

    // 입력한 데이터를 추가한다.
    let store = getObjectStore(DB_STORE_NAME, 'readwrite');
    let req
    const obj = {
        company: companyName,
        production: production
    };

    try {
        req = store.add(obj);
    } catch (e) { }

    req.onsuccess = function (evt) {
        console.log("입력 되었습니다.");
    };
    req.onerror = function () {
        console.error(this.error);
    };
})

// 모든 데이터를 가지고 온다.
getAllData = () => {
    // get
    store = getObjectStore(DB_STORE_NAME, 'readonly');
    let req = store.openCursor();
    let strBuffer = []
    req.onsuccess = evt => {
        const cursor = evt.target.result;
        if (cursor) {
            req = store.get(cursor.key);
            req.onsuccess = function (evt) {
                const value = evt.target.result;
                strBuffer.push('<li>')
                strBuffer.push(value.company + ' (' + value.production + ')')
                strBuffer.push(' [<a href="#" data-delete="' + value.id + '">삭제</a>]')
                strBuffer.push('</li>')
                console.log(value)
            }
            cursor.continue();
        }
        $('#lists').html(strBuffer.join(''))

        // 데이터를 삭제한다.
        $('[data-delete]').on('click', evt => {
            const id = $(evt.currentTarget).attr('data-delete')
            store = getObjectStore(DB_STORE_NAME, 'readwrite');
            store.delete(id)
                .onsuccess = event => {
                    console.log('deleted')
                }
        })
    }
}

// 데이터를 모두 삭제한다.
$('#clearAll').on('click', () => {
    // clear
    var store = getObjectStore(DB_STORE_NAME, 'readwrite');
    var req = store.clear();
    req.onsuccess = function (evt) {
        console.log('clear')
    };
    req.onerror = function (evt) {
        console.log('error')
    };
})
</script>
</body>

</html>
반응형
'Frontend > ETC' 카테고리의 다른 글
| [VSCode] VS Code Terminal에서 스크립트 실행이 안됨 - Windows (1) | 2020.01.07 |
|---|---|
| [javascript] Web Notification API (0) | 2019.11.04 |
| [Chrome] Web SQL 사용하기 (1) | 2019.09.13 |
| [Buy Me a Coffee] tistory에 Buy Me a Coffee 배너 달기 (1) | 2019.08.26 |
| [PayPal] 은행계좌/신용카드 연결하기 (0) | 2019.08.26 |
Comments


