반응형
Notice
Recent Posts
Recent Comments
Link
| 일 | 월 | 화 | 수 | 목 | 금 | 토 |
|---|---|---|---|---|---|---|
| 1 | 2 | 3 | ||||
| 4 | 5 | 6 | 7 | 8 | 9 | 10 |
| 11 | 12 | 13 | 14 | 15 | 16 | 17 |
| 18 | 19 | 20 | 21 | 22 | 23 | 24 |
| 25 | 26 | 27 | 28 | 29 | 30 | 31 |
Tags
- 네트워크
- 오블완
- build
- PYTHON
- unittest
- centos
- fastapi
- VirtualBox
- node
- react
- webpack
- 리눅스
- 맥
- ReactNative
- Android
- 개발
- pydantic
- localserver
- linux
- TensorFlow
- MachineLearning
- androidstudio
- Chrome
- MAC
- vsCode
- IOS
- xcode
- 티스토리챌린지
- 센토스
Archives
- Today
- Total
로메오의 블로그
[Spring Boot] 스프링 부트 환경설정 본문
반응형
Spring Boot / Oracle / Mybatis 차례
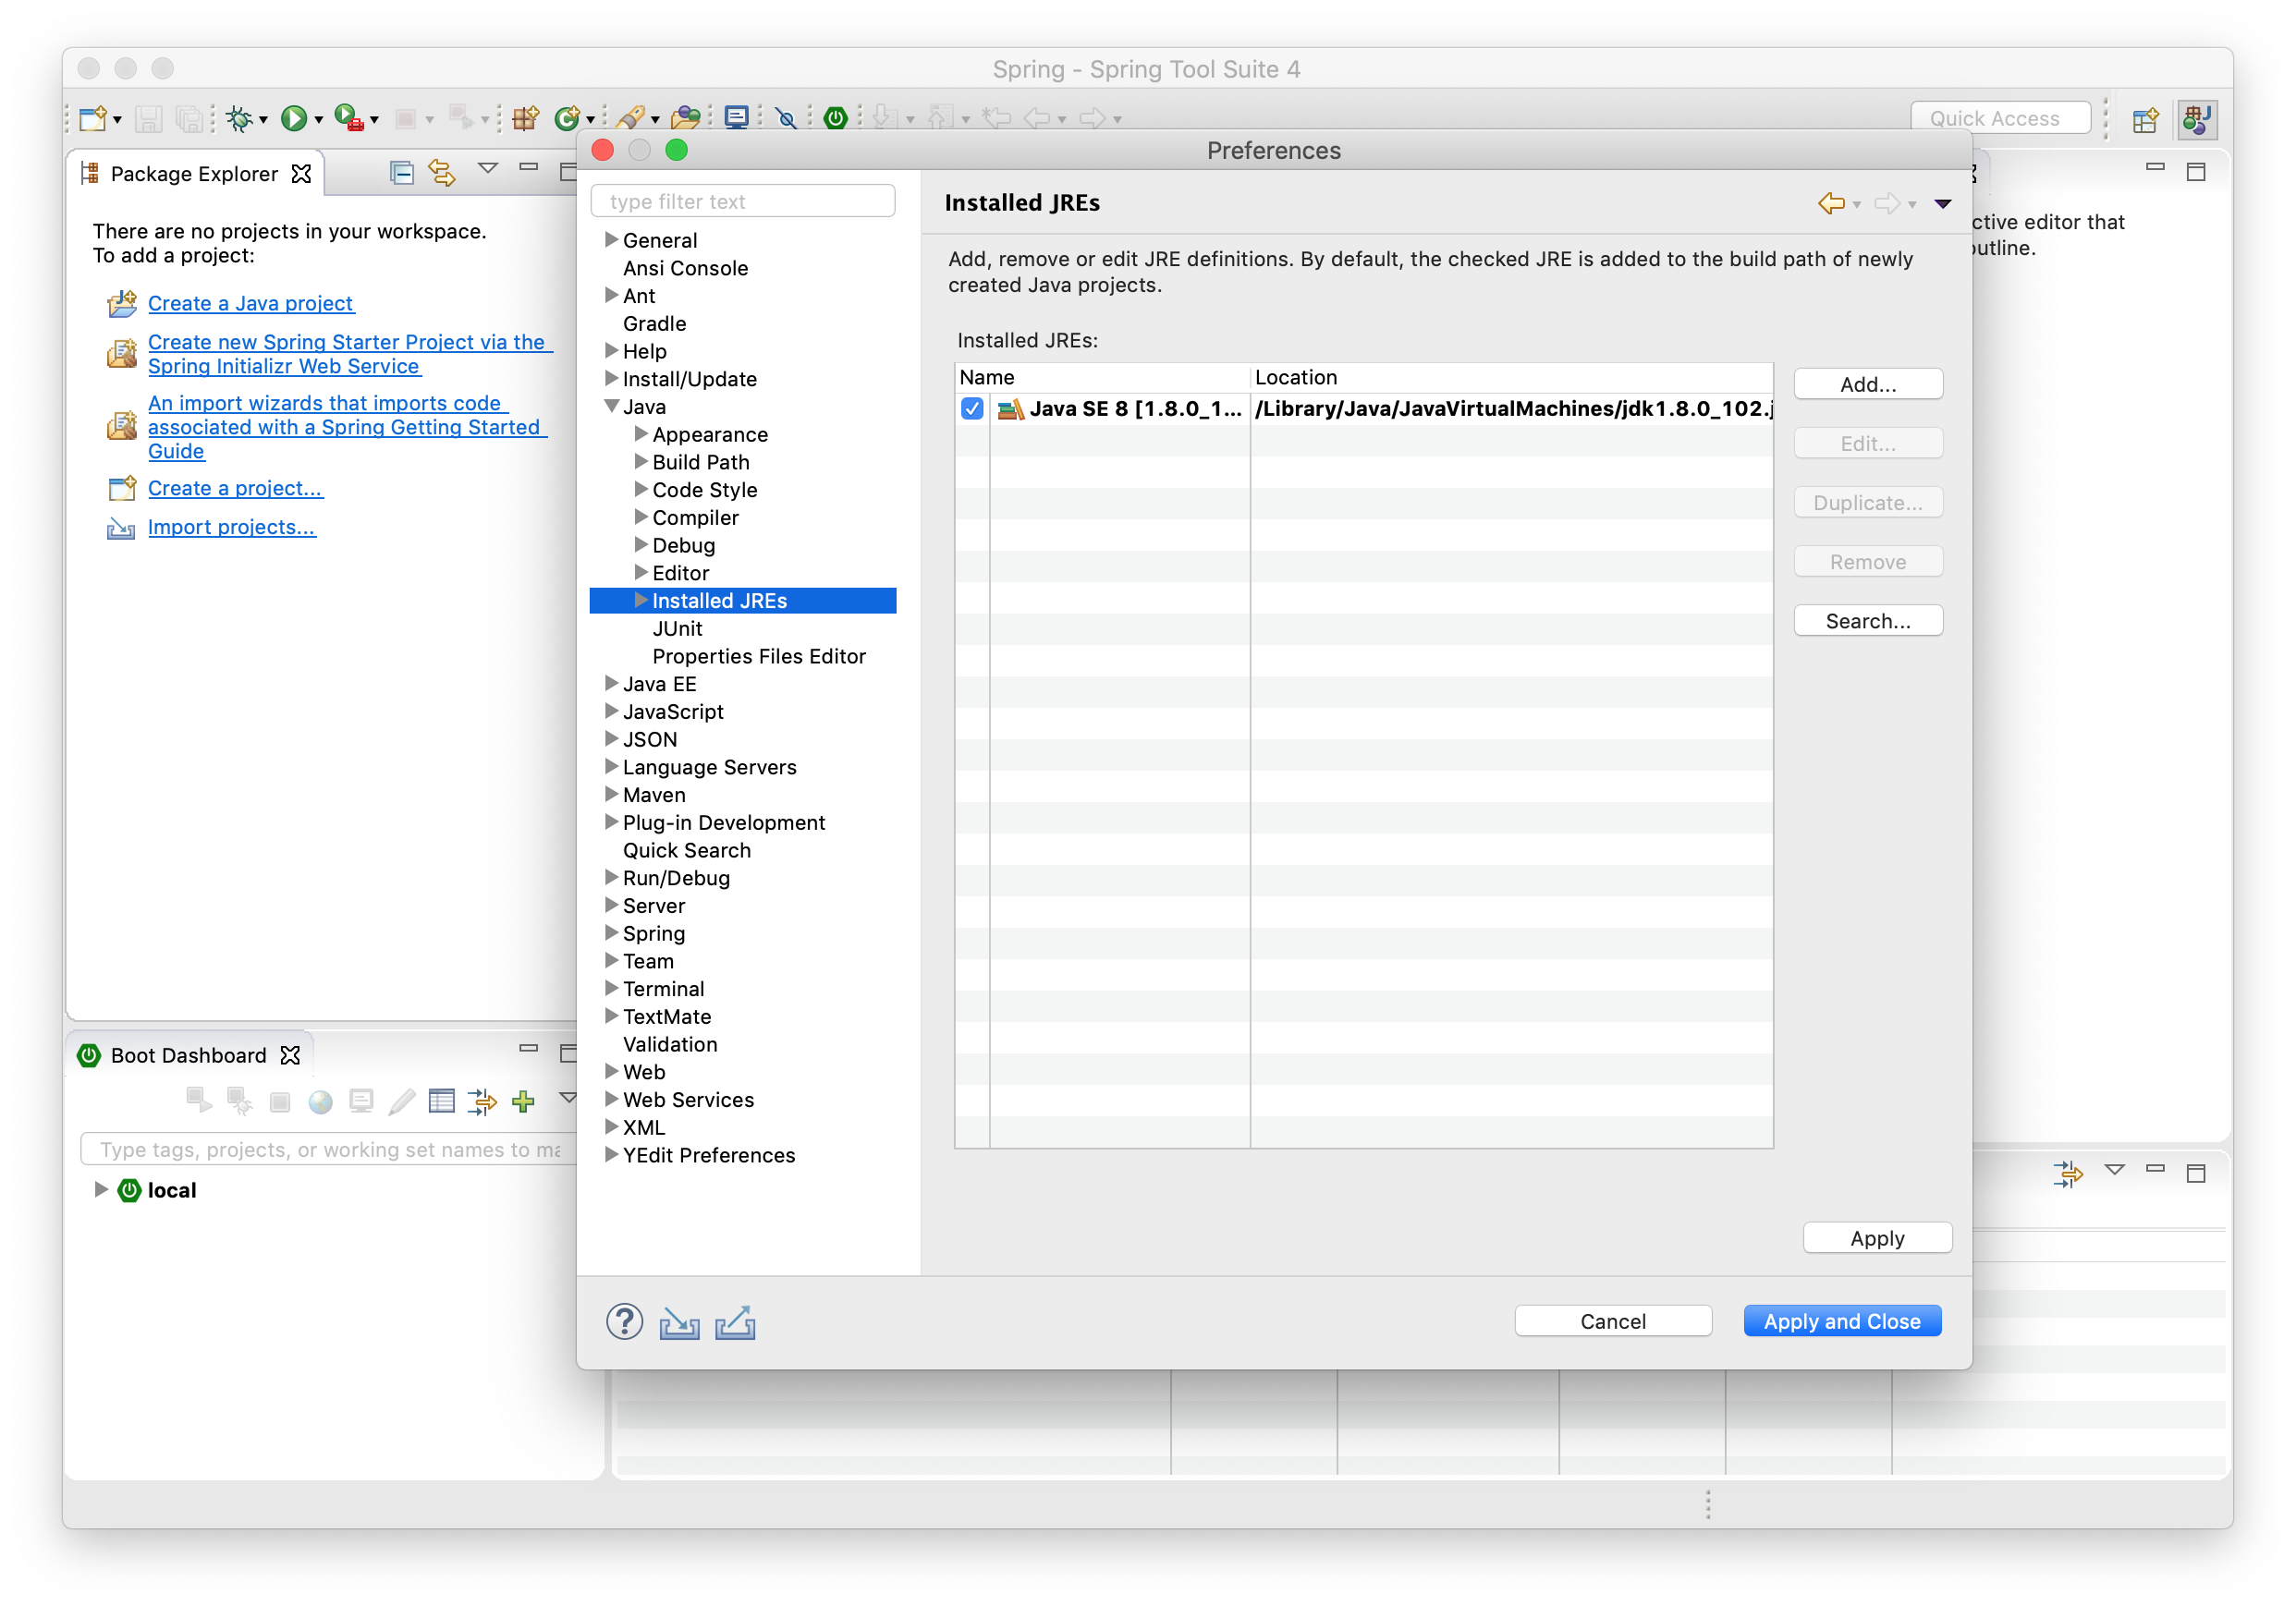
아래 사이트에서 Spring Tools를 다운로드하고 설치합니다.


Preferences > Java > Installed JREs 에서 설치된 Java버전을 확인 할 수 있습니다.
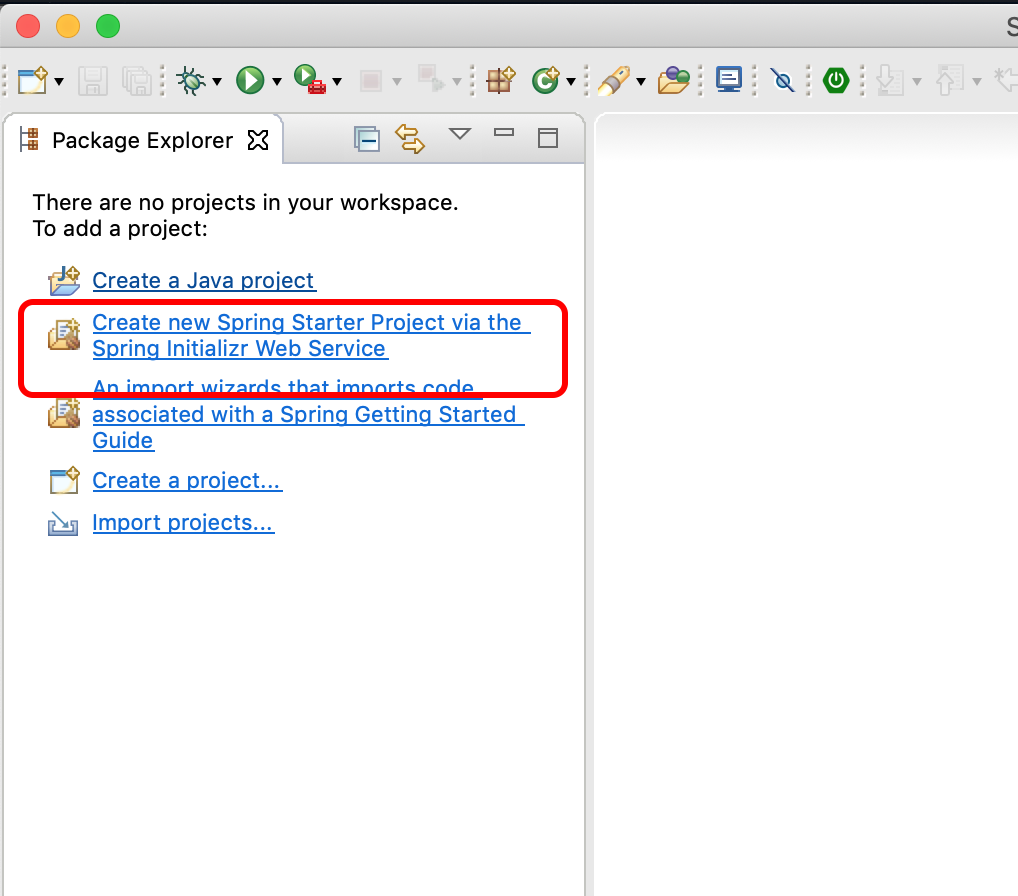
프로젝트 생성하기

Spring Starter Project를 선택합니다.


Spring Web Start를 선택하고 Finish를 누릅니다.
일부 버전에서는 Web을 선택하면 됩니다.

Run As > Spring Boot App 을 실행합니다.


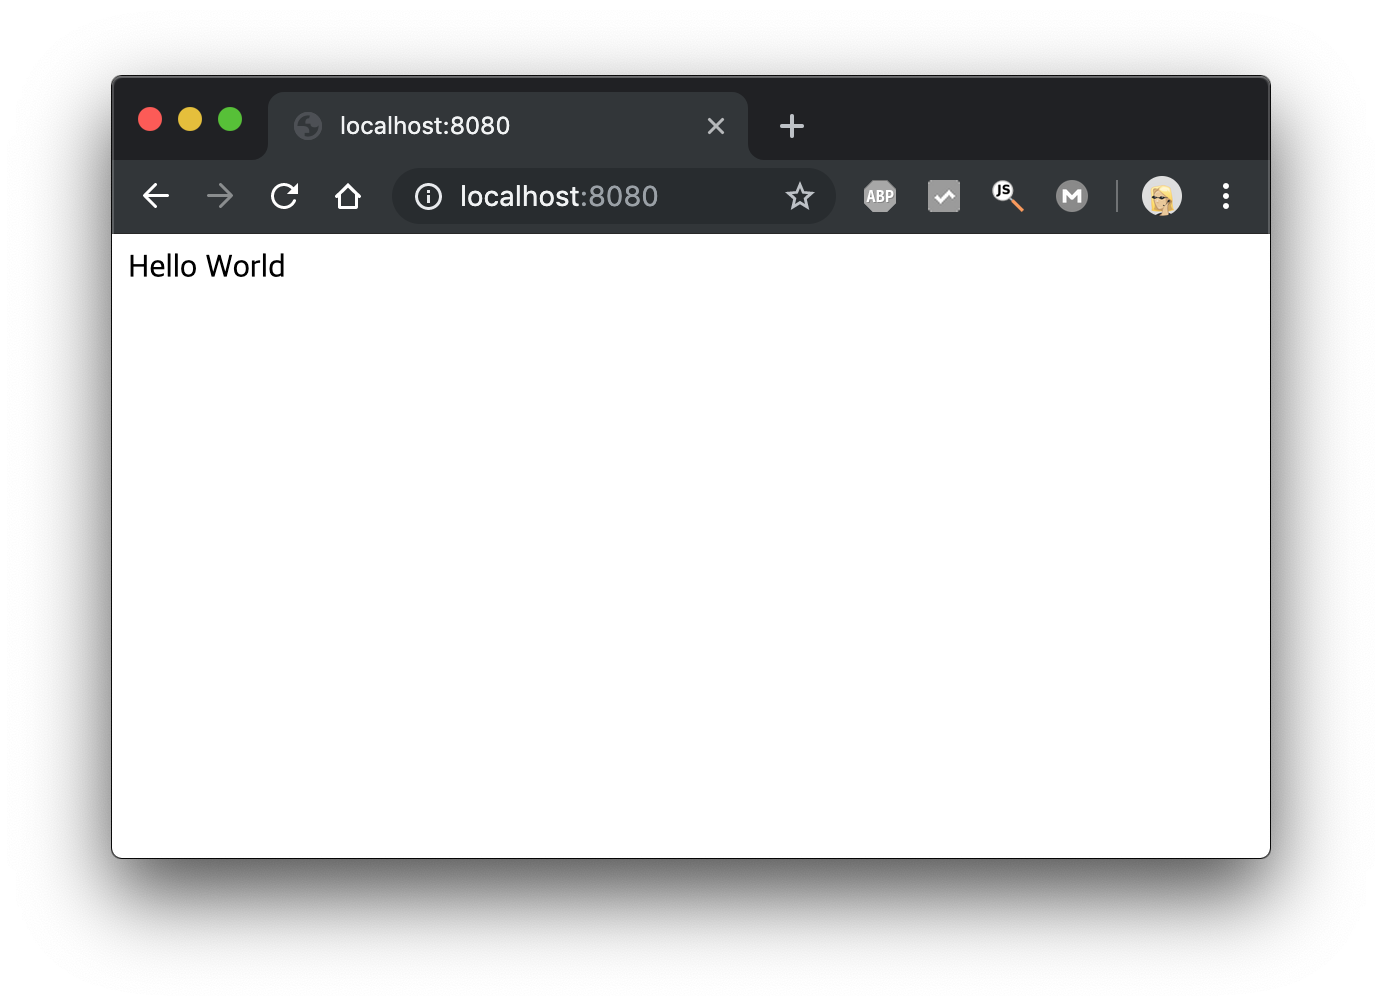
localhost:8080 으로 접속합니다.
Hello World 출력
package com.gaeyou.firstproject;

import org.springframework.boot.SpringApplication;
import org.springframework.boot.autoconfigure.SpringBootApplication;
import org.springframework.stereotype.Controller;
import org.springframework.web.bind.annotation.RequestMapping;
import org.springframework.web.bind.annotation.ResponseBody;

@SpringBootApplication
@Controller
public class FirstProjectApplication {

	@ResponseBody
	@RequestMapping("/")
	String index() {
		return "Hello World";
	}

	public static void main(String[] args) {
		SpringApplication.run(FirstProjectApplication.class, args);
	}

}
@Controller annotation을 추가하고
index() 함수와 annotation을 추가합니다.

서버를 재구동하면 Hello world 가 출력됩니다.
반응형
'Backend > Spring' 카테고리의 다른 글
| [Spring Boot] Spring Boot - My Batis 연동 - Oracle (12) | 2019.09.19 |
|---|---|
| [Eclipse] Debug shell 사용하기 (0) | 2019.08.28 |
| [Spring Boot] lombok 설정하기 - Mac / Windows (0) | 2019.08.24 |
| [Spring Boot] Logback 설정하기 (2) | 2019.08.23 |
| [Spring Boot] Rest Web Service 구축 - 배포하기 (1) | 2019.07.17 |
Comments


