
반응형
Notice
Recent Posts
Recent Comments
Link
| 일 | 월 | 화 | 수 | 목 | 금 | 토 |
|---|---|---|---|---|---|---|
| 1 | 2 | 3 | ||||
| 4 | 5 | 6 | 7 | 8 | 9 | 10 |
| 11 | 12 | 13 | 14 | 15 | 16 | 17 |
| 18 | 19 | 20 | 21 | 22 | 23 | 24 |
| 25 | 26 | 27 | 28 | 29 | 30 | 31 |
Tags
- PYTHON
- build
- pydantic
- androidstudio
- MAC
- vsCode
- IOS
- 개발
- 네트워크
- 맥
- 오블완
- TensorFlow
- 티스토리챌린지
- Chrome
- webpack
- VirtualBox
- Android
- MachineLearning
- centos
- linux
- node
- 리눅스
- 센토스
- react
- unittest
- ReactNative
- fastapi
- xcode
- localserver
Archives
- Today
- Total
로메오의 블로그
TensorFlow 사진 분류기 본문
반응형
시나리오
1. Local 맥북프로 M1 Max 실리콘칩에서 '남자', '여자', '고양이', '자동차', '건물' 사진을 학습한다.
2. NAS 콘테이너에 배포한다.
3. NAS에서 특정 폴더에 사진을 넣고, 해당 사진을 추론해서 분류한다.
icrawler 검색엔진에서 사진 크롤링해서 다운로드
icrawler 설치
$ pip install icrawler
crawler.py
from icrawler.builtin import GoogleImageCrawler

# google
google_crawler = GoogleImageCrawler(
    storage={'root_dir': 'download/cats'},
)
google_crawler.crawl(
    keyword='cat',
    max_num=20,
)
실행
$ python crawler.py

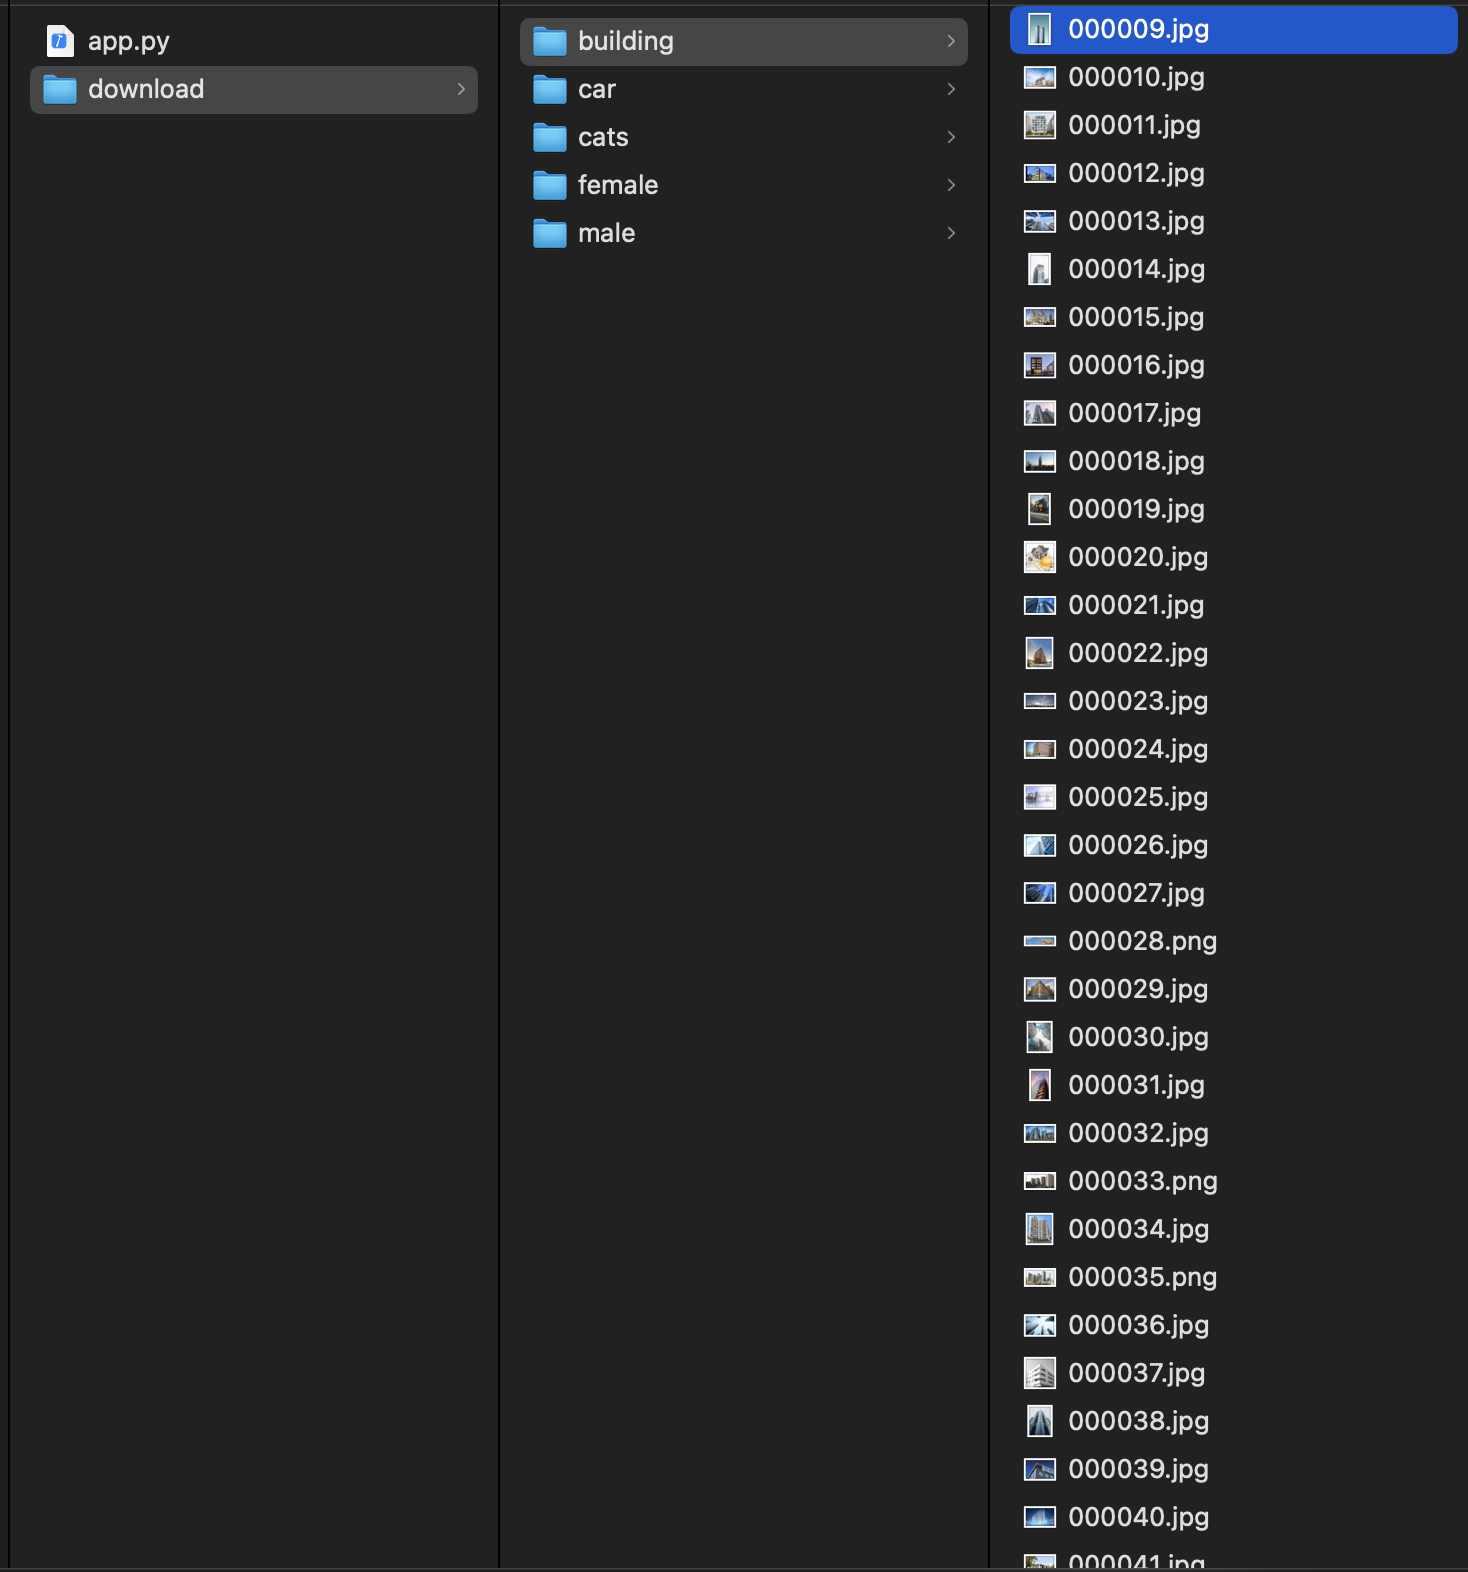
남자', '여자', '고양이', '자동차', '건물' 키워드의 사진을 각 200장씩 다운로드 합니다.
이미지 학습
$ pip install tensorflow
train_model.py
import tensorflow as tf
from tensorflow.keras.preprocessing.image import ImageDataGenerator
from tensorflow.keras.applications import MobileNetV2
from tensorflow.keras import layers, models
import os

# data 준비
data_dir = 'dataset'
image_size = (224, 224)
batch_size = 32             # 32장씩 배치로 처리, 1 epoch에 32장씩

# 데이터 증강 및 전처리
datagen = ImageDataGenerator(
    rescale=1./255,         # 픽셀 값을 0-1 사이로 정규화
    validation_split=0.2    # 20%를 검증 데이터로 분할
)

# 데이터 로드 및 증강 설정
train_data = datagen.flow_from_directory(
    data_dir,
    target_size=image_size,
    batch_size=batch_size,
    class_mode='categorical',   # 다중 클래스 분류를 위한 categorical
    subset='training',
    shuffle=True
)

val_data = datagen.flow_from_directory(
    data_dir,
    target_size=image_size,
    batch_size=batch_size,
    class_mode='categorical',
    subset='validation'
)

# 모델 정의 전이학습
base_model = MobileNetV2(
    input_shape=(224, 224, 3),  # 입력 이미지 크기
    include_top=False,          # 최상위 레이어 제외
    weights='imagenet'          # ImageNet 가중치로 초기화
)
base_model.trainable = False    # 전이학습을 위해 기본 모델의 가중치 동결

# 모델 구성
model = models.Sequential([
    base_model,
    layers.GlobalAveragePooling2D(),        # 전역 평균 풀링 레이어 (7,7,512) feaure로 변환
    layers.Dense(128, activation='relu'),   # 완전 연결 레이어
    layers.Dense(5, activation='softmax')   # 클래스 수에 맞춰 출력 레이어 (예: 5개 클래스 분류용)
])

# 모델 컴파일
model.compile(
    optimizer='adam',                   # Adam 옵티마이저 사용
    loss='categorical_crossentropy',    # 다중 클래스 분류를 위한 손실 함수
    metrics=['accuracy']                # 정확도 메트릭 사용
)

# 모델 학습
model.fit(
    train_data,                 # 학습 데이터
    validation_data=val_data,   # 검증 데이터
    epochs=10                   # 에폭 수 (10회 반복 학습)
)

# 모델 저장
model.save('modlel_image_classifier.h5')
print("모델 학습 완료 및 저장됨: model_image_classifier.h5")
$ python train_model.py

...
Epoch 2/10
13/13 ━━━━━━━━━━━━━━━━━━━━ 15s 1s/step - accuracy: 0.9617 - loss: 0.1076 - val_accuracy: 0.9588 - val_loss: 0.1543
Epoch 3/10
13/13 ━━━━━━━━━━━━━━━━━━━━ 15s 1s/step - accuracy: 0.9872 - loss: 0.0370 - val_accuracy: 0.9691 - val_loss: 0.1234
...
데이터 추론
app.py
from flask import Flask, request, jsonify
import tensorflow as tf
from PIL import Image
import numpy as np
import os

app = Flask(__name__)
model = tf.keras.models.load_model('modlel_image_classifier.h5')
class_names = ['building', 'car', 'cats', 'female', 'male']

def predict_image(image_path):
    img = Image.open(image_path).resize((224, 224))
    arr = np.array(img) / 255.0             # 픽셀 값을 0-1 사이로 정규화 (크기: (224, 224, 3))
    arr = np.expand_dims(arr, axis=0)       # 배치 차원 추가 (1, 224, 224, 3)
    pred = model.predict(arr)               # 예측 수행 [0.02, 0.87, 0.11, ...]
    return class_names[np.argmax(pred)]     # 가장 높은 확률의 클래스 이름 반환

@app.route('/classify', methods=['POST'])
def classify():
    file = request.files['image']
    path = f'/tmp/{file.filename}'
    file.save(path)
    label = predict_image(path)
    os.remove(path)
    return jsonify({'label': label})

if __name__ == '__main__':
    app.run(debug=True, host='0.0.0.0', port=6000)
폴더 실시간 감시
watch.py
import time
import os
import shutil
import requests
from watchdog.observers import Observer
from watchdog.events import FileSystemEventHandler

WATCHED_FOLDER = './incoming'
SROTED_FOLDER = './sorted'
API_URL = 'http://localhost:6000/classify'

class ImageHandler(FileSystemEventHandler):
    def on_created(self, event):
        if event.is_directory:
            return

        if event.src_path.lower().endswith(('.png', '.jpg', '.jpeg')):
            time.sleep(0.5)
            fname = os.path.basename(event.src_path)
            print(f'[이미지 감지] 새 이미지: {fname}')

            try:
                with open(event.src_path, 'rb') as f:
                    res = requests.post(API_URL, files={'image': f})
                    label = res.json()['label']
            except Exception as e:
                print(f'[오류] {fname} 이미지 분류 실패: {e}')
                return

            dst_dir = os.path.join(SROTED_FOLDER, label)
            os.makedirs(dst_dir, exist_ok=True)

            dst_path = os.path.join(dst_dir, fname)
            shutil.move(event.src_path, dst_path)
            print(f'[이미지 분류 완료] {fname} -> {label}/')

if __name__ == "__main__":
    os.makedirs(WATCHED_FOLDER, exist_ok=True)
    os.makedirs(SROTED_FOLDER, exist_ok=True)

    event_handler = ImageHandler()
    observers = Observer()
    observers.schedule(event_handler, path=WATCHED_FOLDER, recursive=False)
    observers.start()

    print('[감시 시작] 이미지 폴더:', WATCHED_FOLDER)

    try:
        while True:
            time.sleep(1)
    except KeyboardInterrupt:
        observers.stop()
    observers.join()
# flask 구동
$ python app.py

# watch 구동
$ python watch.py
[이미지 감지] 새 이미지: IMG_7203.jpeg
[이미지 분류 완료] IMG_7203.jpeg -> cats/
[이미지 감지] 새 이미지: 00008-1037234980.png
[이미지 분류 완료] 00008-1037234980.png -> female/
반응형
'Backend > Python & Blockchain' 카테고리의 다른 글
| 유사사진 추천하기 Flask + MongoDB + OpenCLIP +FAISS (7) | 2025.07.27 |
|---|---|
| python 가상환경 설정 (4) | 2025.07.27 |
| Synology NAS에 python flask 웹서버 구축 (2) | 2025.07.18 |
| FastAPI 서버 구축 (0) | 2025.05.19 |
| Python3 SSL: CERTIFICATE_VERIFY_FAILED 해결하기 - Mac (0) | 2024.02.02 |
'Backend/Python & Blockchain' Related Articles
more


Comments