반응형
Notice
Recent Posts
Recent Comments
Link
| 일 | 월 | 화 | 수 | 목 | 금 | 토 |
|---|---|---|---|---|---|---|
| 1 | 2 | 3 | ||||
| 4 | 5 | 6 | 7 | 8 | 9 | 10 |
| 11 | 12 | 13 | 14 | 15 | 16 | 17 |
| 18 | 19 | 20 | 21 | 22 | 23 | 24 |
| 25 | 26 | 27 | 28 | 29 | 30 | 31 |
Tags
- 티스토리챌린지
- 오블완
- node
- MachineLearning
- VirtualBox
- unittest
- webpack
- vsCode
- androidstudio
- build
- PYTHON
- 맥
- fastapi
- linux
- pydantic
- IOS
- centos
- 리눅스
- TensorFlow
- react
- 센토스
- ReactNative
- Android
- Chrome
- 개발
- xcode
- localserver
- MAC
- 네트워크
Archives
- Today
- Total
로메오의 블로그
[VUE + TYPESCRIPT] Prop 자식에게 데이터 전달하기 본문
반응형
$ touch src/components/Child.vue
src/components/Child.vue 파일을 생성하고 아래와 같이 코딩합니다.
<template>
    <div>
        {{ parentMessage }}
    </div>
</template>

<script lang="ts">
import { Component, Prop, Vue} from 'vue-property-decorator';

@Component
export default class Child extends Vue {
    @Prop() parentMessage?: string;
}
</script>
src/components/Home.vue 파일을 아래와 같이 수정합니다.
<template>
  <div class="home">
    <img alt="Vue logo" src="../assets/logo.png">
    <child parentMessage="안녕"></child>
  </div>
</template>

<script lang="ts">
import { Vue, Component } from 'vue-property-decorator';
import Child from '@/components/Child.vue';

@Component({
    components: {
        Child,
    },
})

export default class Home extends Vue {}
</script>
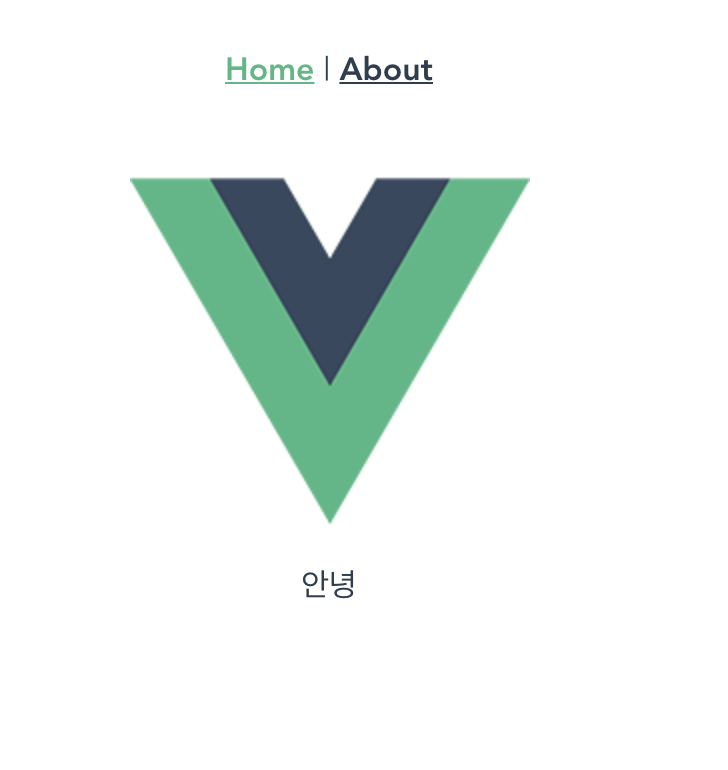
서버를 구동합니다.
$ yarn serve
표현식 변수 사용하기
Home.vue에서 parentMessage를 동적인 변수로 사용할수 있습니다.
...
    <child :parentMessage="message"></child>
...

<script lang="ts">
...
export default class Home extends Vue {
    message: string = '안녕하세요.';
}
</script>
/src/componets/Home.vue 파일을 위와 같이 수정합니다.
전체 코드는 아래와 같습니다.
<template>
  <div class="home">
    <img alt="Vue logo" src="../assets/logo.png">
    <child :parentMessage="message"></child>
  </div>
</template>

<script lang="ts">
import { Vue, Component } from 'vue-property-decorator';
import Child from '@/components/Child.vue';

@Component({
    components: {
        Child,
    },
})

export default class Home extends Vue {
    message: string = '안녕하세요.';
}
</script>

parent로 데이터 전송하기
1. Propsync 사용
<template>
  <div>
    <child :item.sync="listItem"></child>
  </div>
</template>

<script lang="ts">
import { Component, Vue } from 'vue-property-decorator'
import Child from '@/components/Child.vue'

@Component({
  components: {
    Child
  }
})
export default class TsrMainViewComponent extends CommonMixin {
  listItem = ['hello']
  mounted () {
    //
  }
}
</script>
<template>
<div>
<button @click="update">update</button>
</div>
</template>
<script lang="ts">
import { Component, Prop, PropSync } from 'vue-property-decorator'
import { CommonMixin } from '@/mixins/index'
@Component
export default class TsrListsComponent extends CommonMixin {
@PropSync('item') listItem?: any
update () {
this.listItem.push('b')
}
mounted () {
console.log(this.listItem)
}
}
</script>
2. Prop and Emit 사용
<template>
  <div>
    <child :option="listOption" @update:option="updateOption"></child>
  </div>
</template>

<script lang="ts">
import { Component, Vue } from 'vue-property-decorator'
import Child from '@/components/Child.vue'

@Component({
  components: {
    Child
  }
})
export default class TsrMainViewComponent extends CommonMixin {
  listOption = { a: 1 }
  updateChild (value: any) {
    this.listOption = value
  }
}
</script>
<template>
<div>
<button @click="update">update</button>
</div>
</template>
<script lang="ts">
import { Component, Prop } from 'vue-property-decorator'
import { CommonMixin } from '@/mixins/index'
@Component
export default class TsrListsComponent extends CommonMixin {
@Prop({ type: Object }) option?: any
update () {
this.$emit('update:option', { b: 2 })
}
mounted () {
console.log(this.listItem)
}
}
</script>
반응형
'Frontend > Vue' 카테고리의 다른 글
| [VUE + TYPESCRIPT] Emit 이벤트, 부모에게 이벤트 전달 (0) | 2021.02.11 |
|---|---|
| [VUE + TYPESCRIPT] Watch 데이터 감시하기 (0) | 2021.02.10 |
| [Vue + typescript] Component 생성하기 (0) | 2021.02.10 |
| [Vue + typescript] 프로젝트 생성 (0) | 2021.02.09 |
| [vue.js] 폼 유효성 검사 (0) | 2019.10.24 |
Comments


