
반응형
Notice
Recent Posts
Recent Comments
Link
| 일 | 월 | 화 | 수 | 목 | 금 | 토 |
|---|---|---|---|---|---|---|
| 1 | 2 | 3 | 4 | |||
| 5 | 6 | 7 | 8 | 9 | 10 | 11 |
| 12 | 13 | 14 | 15 | 16 | 17 | 18 |
| 19 | 20 | 21 | 22 | 23 | 24 | 25 |
| 26 | 27 | 28 | 29 | 30 |
Tags
- linux
- TensorFlow
- MAC
- 개발
- unittest
- 센토스
- xcode
- IOS
- androidstudio
- PYTHON
- node
- 맥
- 네트워크
- 오블완
- 리눅스
- centos
- webpack
- fastapi
- 티스토리챌린지
- ReactNative
- localserver
- react
- pydantic
- MachineLearning
- Chrome
- VirtualBox
- vsCode
- build
- Android
Archives
- Today
- Total
로메오의 블로그
크롬 확장 프로그램 본문
반응형
manifest.json
{
  "name": "배경색상 변경",
  "description": "배경색상을 변경하는 크롬 확장 프로그램",
  "version": "1.0",
  "permissions": [
    "activeTab",
    "scripting",
    "storage"
  ],
  "action": {
    "default_popup": "popup.html",
    "default_icon": {
      "16": "images/icon-16.png",
      "128": "images/icon-128.png"
    }
  },
  "icons": {
    "16": "images/icon-16.png",
    "128": "images/icon-128.png"
  },
  "background": {
    "service_worker": "service-worker.js"
  },
  "options_page": "options.html",
  "manifest_version": 3
}
service-worker.js
let color = '#3aa757'

// 스토리지에 초기 color를 저장한다.
chrome.runtime.onInstalled.addListener(() => {
  chrome.storage.sync.set({ color: color }, () => {
    console.log('Green으로 배경색상을 변경한다.');
  });
});
popup.html
<!DOCTYPE html>
<html lang="ko">
<head>
  <meta charset="utf-8">
  <link rel="stylesheet" href="button.css">
</head>
<body>
  <button class="color-button" id="changeColor"></button>
  <script src="popup.js"></script>
</body>
</html>
popup.js
const changeColorButton = document.getElementById('changeColor');

// 스토리지에 저장된 color를 가져온다.
chrome.storage.sync.get('color', ({ color }) => {
  changeColorButton.style.backgroundColor = color;
  changeColorButton.setAttribute('value', color);
});

// 색상 변경 버튼 이벤트
changeColorButton.addEventListener('click', (event) => {
  const color = event.target.value;

  // 콘텐츠 스크립트를 삽입하기 전에 활성 탭을 쿼리합니다.
  chrome.tabs.query({ active: true, currentWindow: true }, (tabs) => {
    // 스크립팅 API를 사용하여 스크립트 실행
    chrome.scripting.executeScript({
      target: { tabId: tabs[0].id },
      args: [color],
      func: setColor
    });
  });
});

function setColor(color) {
  document.body.style.backgroundColor = color;
}
options.html
<!DOCTYPE html>
<html lang="ko">
<head>
  <meta charset="utf-8">
  <link rel="stylesheet" href="button.css">
</head>
<body>
  <div id="buttonDiv"></div>
  <div>
    <p>배경색상을 선택하세요.</p>
  </div>
  <script src="options.js"></script>
</body>
</html>
options.js
const buttonDiv = document.getElementById('buttonDiv');
const buttonColors = ['#3aa757', '#e8453c', '#f9bb2d', '#4688f1'];

const createColorButtons = (buttonColors) => {
  buttonColors.forEach((color) => {
    const button = document.createElement('button');
    button.style.backgroundColor = color;

    button.addEventListener('click', () => {
      chrome.storage.sync.set({ color }, () => {
        console.log(`color is ${color}`);
      });
    });

    buttonDiv.appendChild(button);
  });
};

createColorButtons(buttonColors);
button.css
button {
  height: 30px;
  width: 30px;
  outline: none;
  background-color: #3aa757;
}
images

icon-16.png

icon-128.png

크롬브라우저에서 아래 주소를 입력하고 확장프로그램으로 이동합니다.
chrome://extensions/

개발자모드를 체크하고,
압축해제된 확장프로그램을 로드합니다를 클릭합니다.
프로젝트 폴더를 선택합니다.
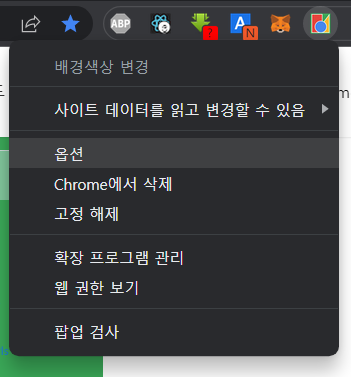
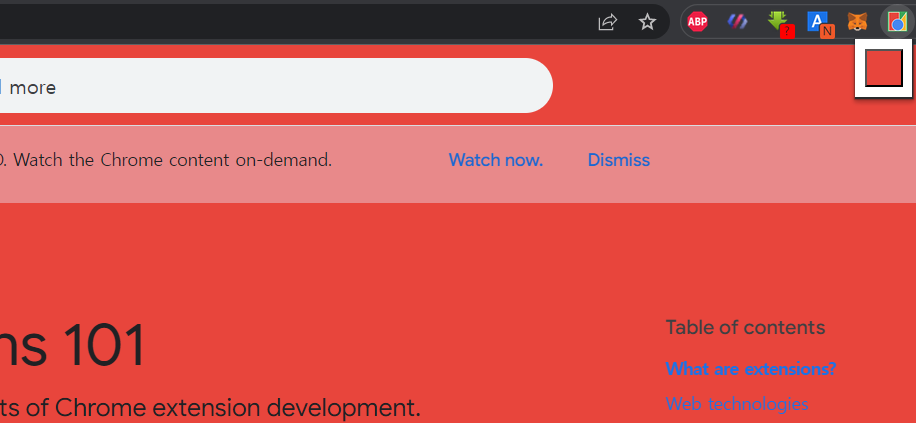
popup 확인

option 확인

반응형
'Frontend > ETC' 카테고리의 다른 글
| postman Bearer token 설정하기 (0) | 2024.09.21 |
|---|---|
| CryptoJS 암호화 (0) | 2023.03.24 |
| git 리모트 연결 & 리모트 url 변경 (0) | 2023.01.25 |
| 유튜브 인사이트 평균 (0) | 2022.08.26 |
| SourceTree 비밀번호 저장 이슈 - Mac (0) | 2022.08.23 |
'Frontend/ETC' Related Articles
more

Comments